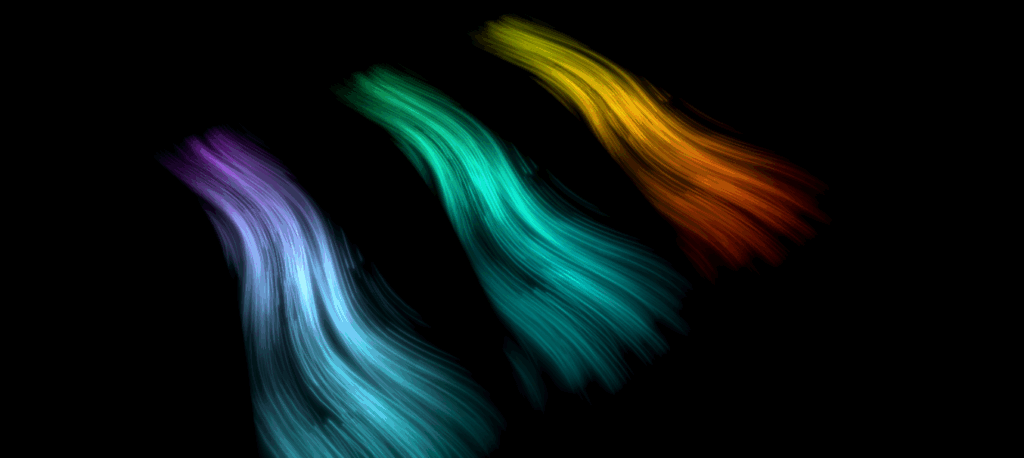
You can download the assets for this tutorial here!
Set up the project
Let’s begin by looking at the 3D meshes we’ll apply our shader to. (feel free to use something different, though!)
Taking a look in Blender, we can see four “stacks” of five flat meshes each, where each stack is one object. By utilising transparency, a setup like this can create a pretty cool depth effect in shader!
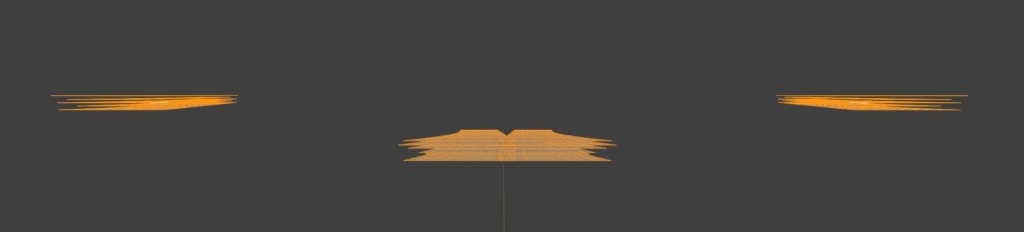
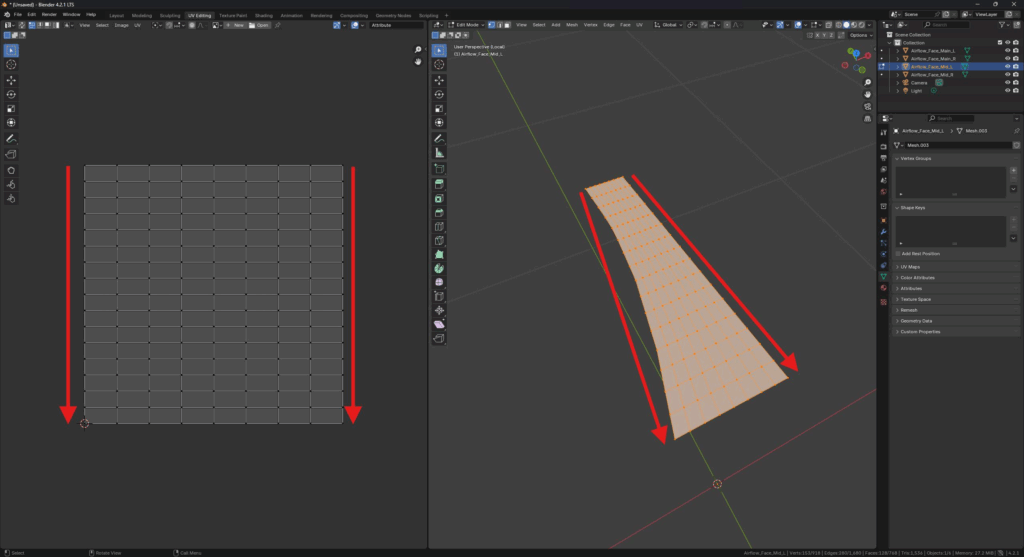
Also notice how the UVs for the meshes are in a nice square, meaning we can easily access the coordinates later in our shader code.
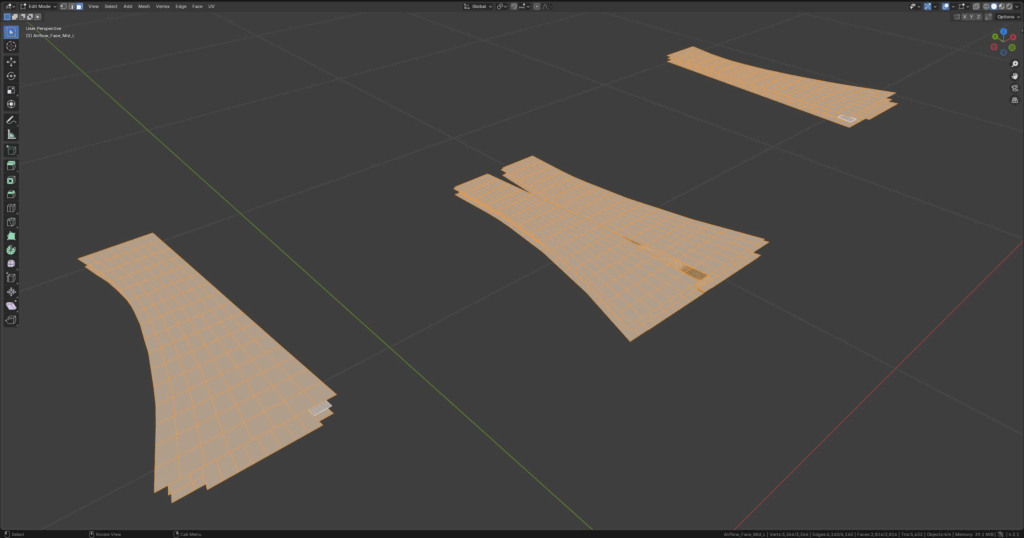
Now creating a new Kanzi project, import the mesh-object you want using the merge 3D asset file button.
Drag the mesh into your scene.
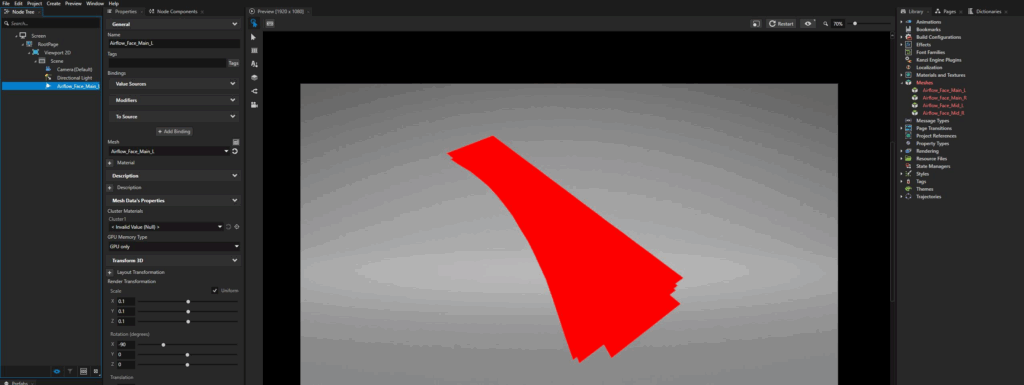

Creating a ground plane in your scene can help you orient yourself!
Start creating the shader
Create a new material type called “Airflow”, then assign the instance to your mesh.
Opening up the vertex shader:
- access the UV set attribute (kzTextureCoordinate0)
- create a varying vec2 called “vTexCoord”.
- we’ll use this to send the vector coordinates to our fragment shader.
- its value should be set by kzTextureCoordinate0.
// VERTEX
precision mediump float;

attribute vec3 kzPosition;
attribute vec2 kzTextureCoordinate0;

varying vec2 vTexCoord;

uniform highp mat4 kzProjectionCameraWorldMatrix;
void main()
{
  vTexCoord = kzTextureCoordinate0;
  gl_Position = kzProjectionCameraWorldMatrix * vec4(kzPosition.xyz, 1.0);
}
Now in our fragment shader:
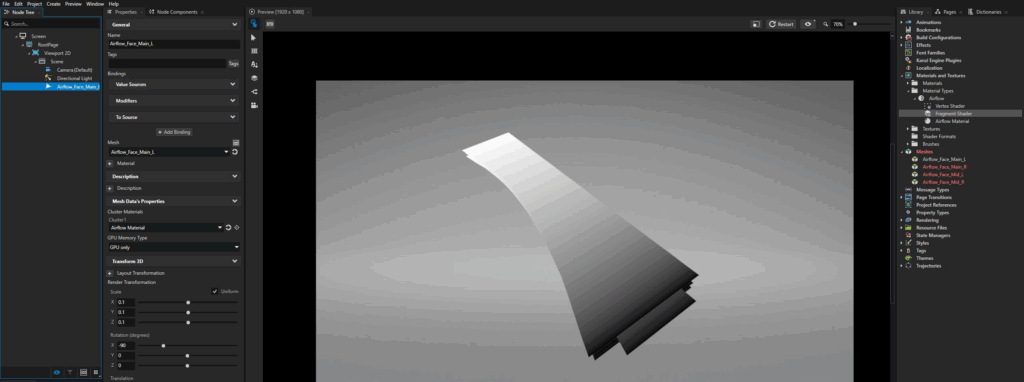
- let’s access vTexCoord and test it by having it control our pixel colour.
// FRAGMENT
precision mediump float;

varying vec2 vTexCoord;

void main()
{
  gl_FragColor = vec4(vTexCoord.y);
}
Assign the texture
Inside your fragment shader:
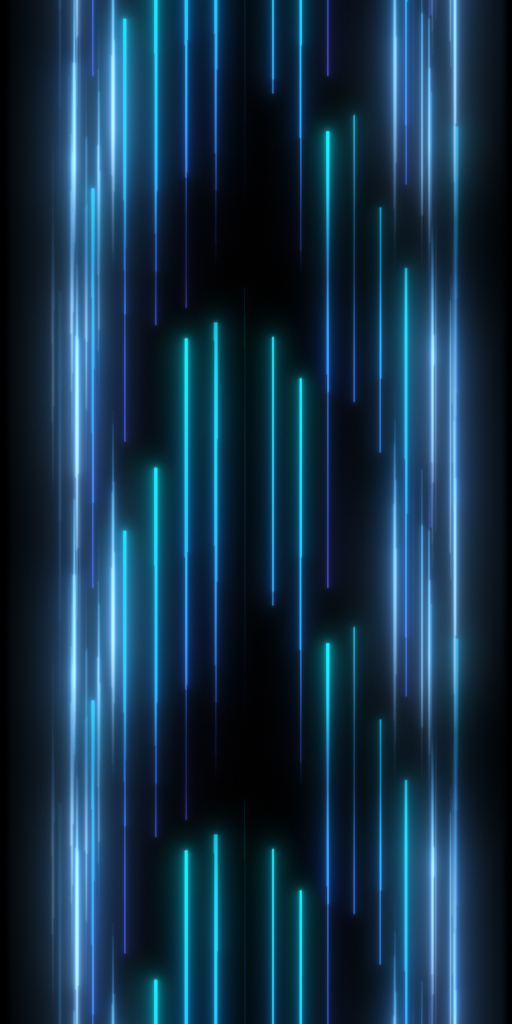
- create a uniform sampler2D called “AirflowTexture”.
- use this to create a vec4 called “appliedTexture”, and assign that to your frag colour.
// FRAGMENT
precision mediump float;

varying vec2 vTexCoord;

uniform sampler2D AirflowTexture;

void main()
{
  vec4 appliedTexture = texture2D(AirflowTexture, vTexCoord);
  gl_FragColor = vec4(appliedTexture);
}
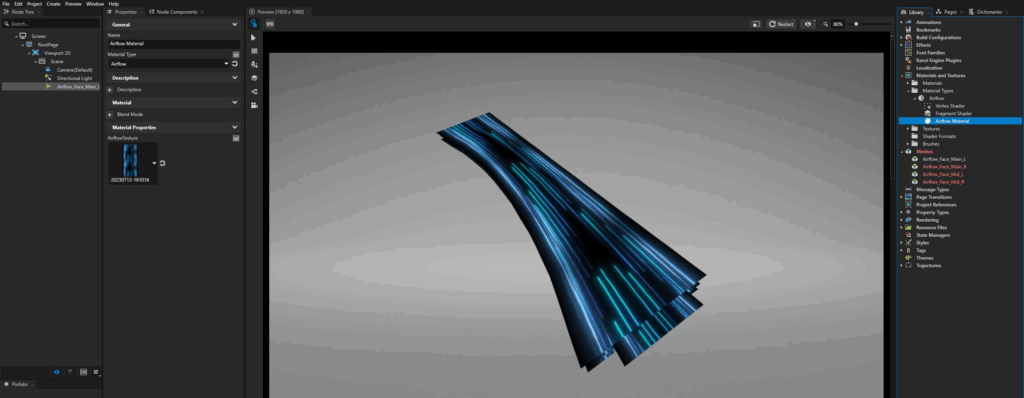
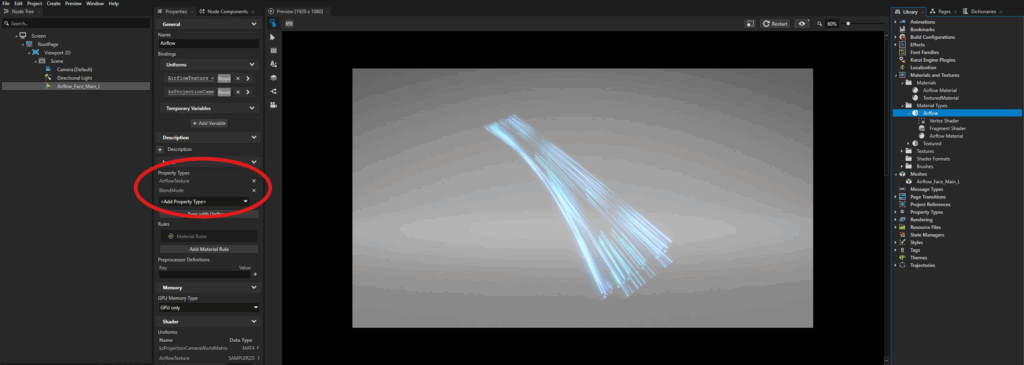
Now to make our material transparent, go <Add Property Type> / BlendMode.
Since our image texture doesn’t have an alpha channel, we’ll set the material Blend Mode to Additive such that all the black parts become transparent.
Scroll the texture
Next, let’s make the texture scroll vertically along our mesh.
Inside our fragment shader:
- create a new float uniform called “AnimationTime”.
- add AnimationTime to the Y-texture coordinates of our texture2D.
// FRAGMENT
// ...
uniform float AnimationTime;

void main()
{
  vec4 appliedTexture = texture2D(AirflowTexture, vTexCoord + vec2(0.0, AnimationTime));
  gl_FragColor = vec4(appliedTexture);
}
Wrap mode: repeat
To make sure our texture tiles as it scrolls, set its wrap mode to repeat!
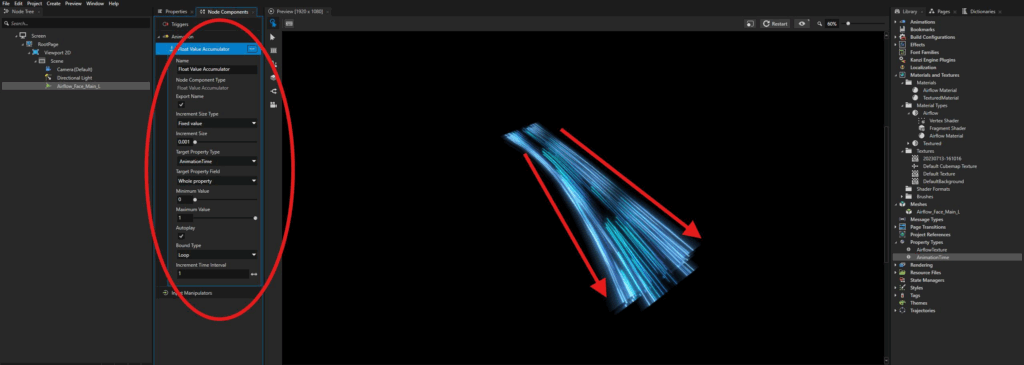
Now our texture scrolls as we change the material property AnimationTime!
Inside our airflow mesh, we can set up a float value accumulator to increment AnimationTime automatically. We now have the basis of our airflow animation!
Fade out the ends
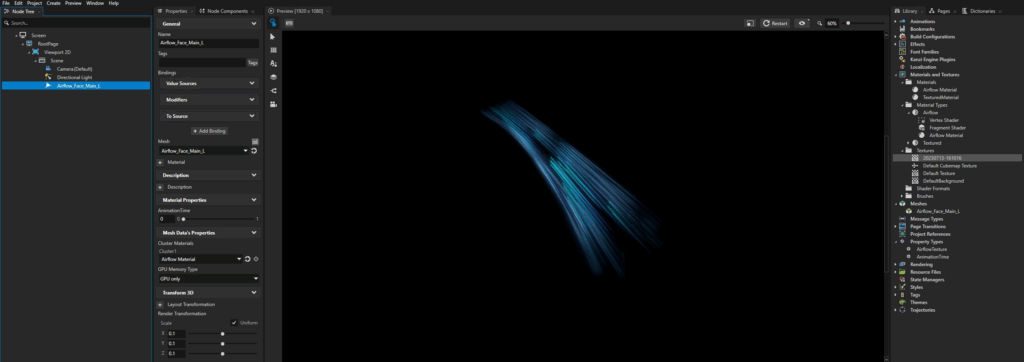
Next, let’s fade out the edges of our airflow mesh such that they’re not so harsh.
We’ll use this calculation to figure out a fragment’s opacity along the x or y axis:
$$1.0 – |2u-1.0|$$
where u is the fragment’s position along the x or y axis.
For example:
- u=0 returns 0.0
- u=0.5 returns 1.0
- u=1.0 returns 0.0
// FRAGMENT
// ...

void main()
{
  vec4 appliedTexture = texture2D(AirflowTexture, vTexCoord + vec2(0.0, AnimationTime));

  float opacityX = 1.0 - abs(vTexCoord.x * 2.0 - 1.0);
  float opacityY = 1.0 - abs(vTexCoord.y * 2.0 - 1.0);

  gl_FragColor = vec4(appliedTexture) * opacityX * opacityY;
}
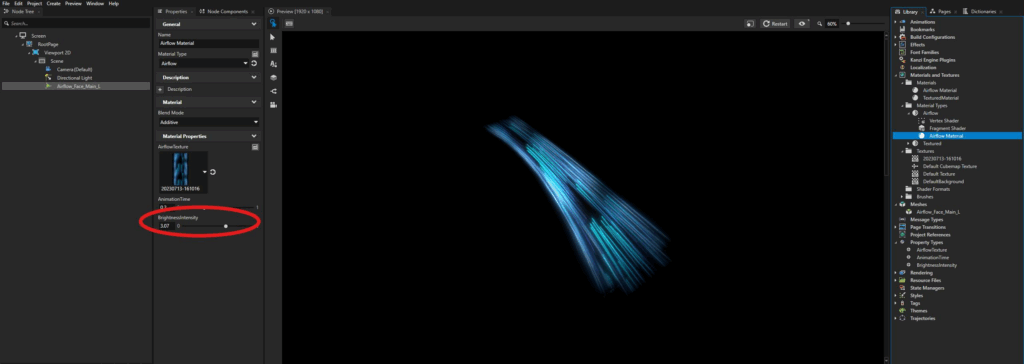
Our airflow is currently looking a bit dim, so let’s add a new uniform float called “BrightnessIntensity” to adjust the brightness of our material.
// FRAGMENT
// ...
uniform float BrightnessIntensity;

void main()
{
  // ...

  gl_FragColor = vec4(appliedTexture) * opacityX * opacityY * BrightnessIntensity;
}
Mixing two colours in the mesh
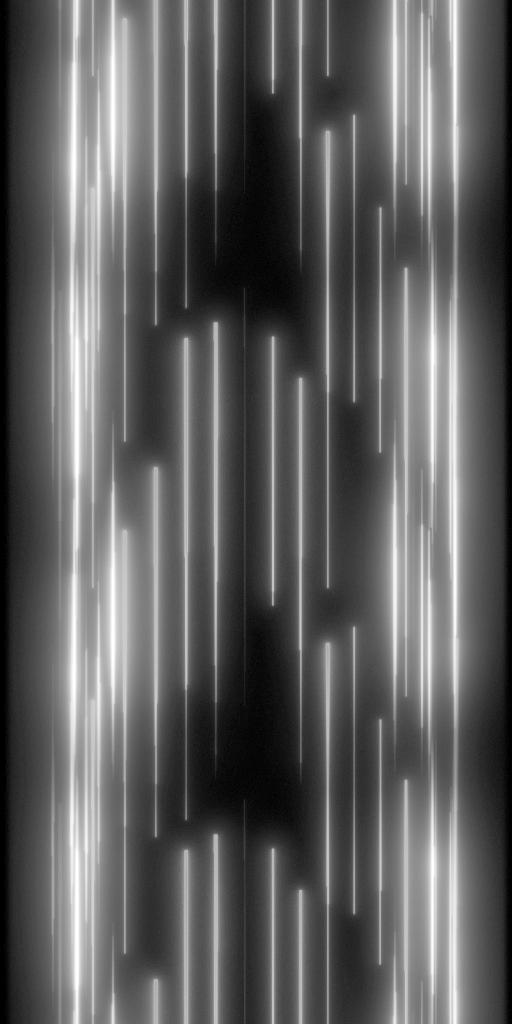
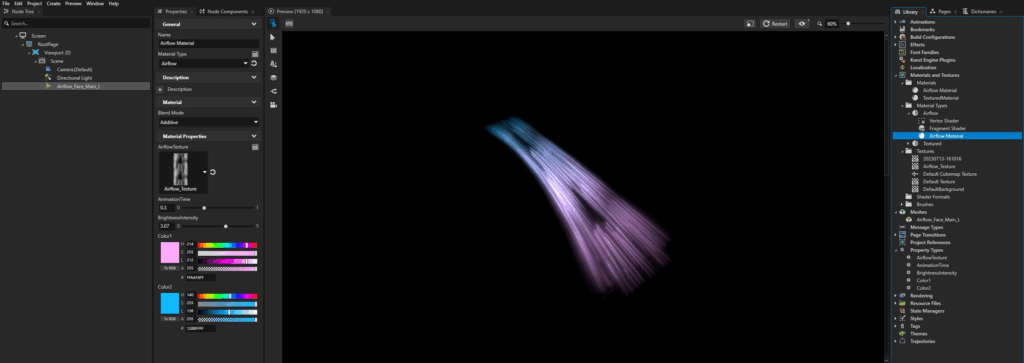
Next, let’s change the colours within our airflow material!
First, we’ll need a greyscale version of our original image texture (just desaturate it inside any image editing software).
Now inside your fragment shader:
- create two new uniform vec4s called “Color1” and “Color2”.
- use the mix function to sample appliedTexture multiplied by Color1 or Color2, with the mixing dependent on the fragment’s position along the Y-UV coordinates.
// FRAGMENT
// ...
uniform vec4 Color1;
uniform vec4 Color2;

void main()
{
  vec4 appliedTexture = texture2D(AirflowTexture, vTexCoord + vec2(0.0, AnimationTime));
    appliedTexture = mix(appliedTexture * Color1, appliedTexture * Color2, vTexCoord.y);

  // ...

  gl_FragColor = vec4(appliedTexture) * opacityX * opacityY * BrightnessIntensity;
}
Offset UVs based on z-position
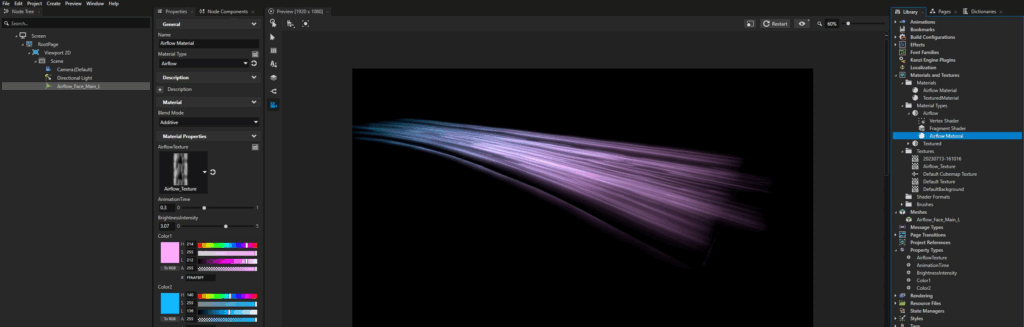
Recall that our airflow object is a bunch of flat planes stacked on top of each other. To create a better sense of depth and variation, let’s offset the UVs of the planes relative to their world position!
Inside your vertex shader:
- access the attribute vec3 “kzPosition” (this is the world position of the vertex)
- create a new varying vec2 called “vTexCoord_offsetZ” (we’ll pass these modified texture coordinates to the fragment shader)
- set vTexCoord_offsetZ to be your original texture coordinates, offset by kzPosition.z (optionally multiplied by ~2.0 to make the effect more noticeable)
// VERTEX
attribute vec3 kzPosition;
// ...
varying vec2 vTexCoord;
varying vec2 vTexCoord_offsetZ;
// ...

void main()
{
  vTexCoord = kzTextureCoordinate0;
  vTexCoord_offsetZ = kzTextureCoordinate0 + vec2(0.0, kzPosition.z * 2.0);
  // ...
}
Inside your fragment shader:
- access vTexCoord_offsetZ
- use the vTexCoord_offsetZ coordinates to apply the texture
The texture is now offset uniquely in each plane comprising our airflow effect!
// FRAGMENT
varying vec2 vTexCoord;
varying vec2 vTexCoord_offsetZ;

// ...

void main()
{
    vec4 appliedTexture = texture2D(AirflowTexture, vTexCoord_offsetZ + vec2(0.0, AnimationTime));
    appliedTexture = mix(appliedTexture * Color1, appliedTexture * Color2, vTexCoord.y);

	// ...

    gl_FragColor = vec4(appliedTexture) * opacityX * opacityY * BrightnessIntensity;
}
Create a wavy effect along the x-coordinates
Let’s finish off our airflow effect by making the texture wave along the x-coordinates of the UV map!
Inside your fragment shader:
- create a new const float called “PI”.
- set its value to Pi with some reasonable precision.
- create a new uniform float called “WaveAmplitude”.
- (you’ll probably want to set its value to ~0.2)
- create a new float called “wavyX”.
- set its value to
sin(AnimationTime * 2.0 * PI).
- set its value to
- inside your appliedTexture, offset the x texture coordinates by wavyX.
// FRAGMENT
// ...
uniform float WaveAmplitude;

const float PI = 3.14159265359;

void main()
{
  float wavyX = sin(AnimationTime * 2.0 * PI) * WaveAmplitude;
  vec4 appliedTexture = texture2D(AirflowTexture, vTexCoord_offsetZ + vec2(wavyX, AnimationTime));

	// ...
}
Our airflow effect is now waving about along its x-axis!
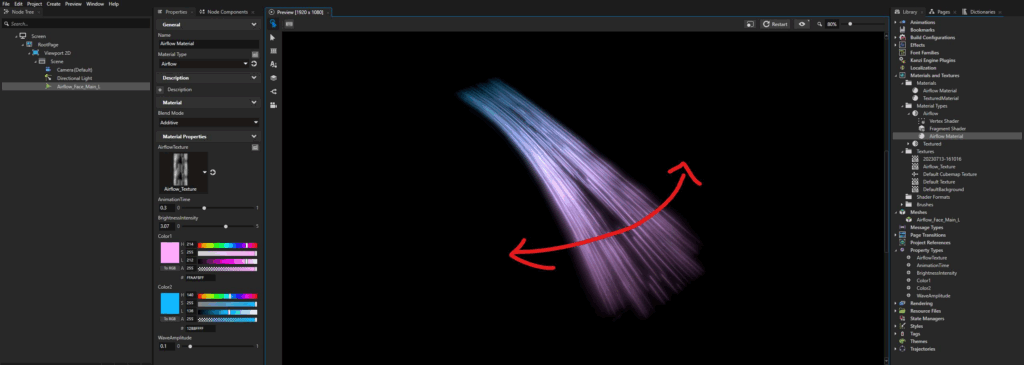
sin(AnimationTime * 2.0 * PI)
Assuming AnimationTime goes between 0.0 and 1.0, let’s see how the sin function gives us a repeating wave pattern.
$$\sin(0.0*2.0\pi)=0.0$$
$$\sin(0.25*2.0\pi)=1.0$$
$$\sin(0.5*2.0\pi)=0.0$$
$$\sin(0.75*2.0\pi)=-1.0$$
$$\sin(1.0*2.0\pi)=0.0$$
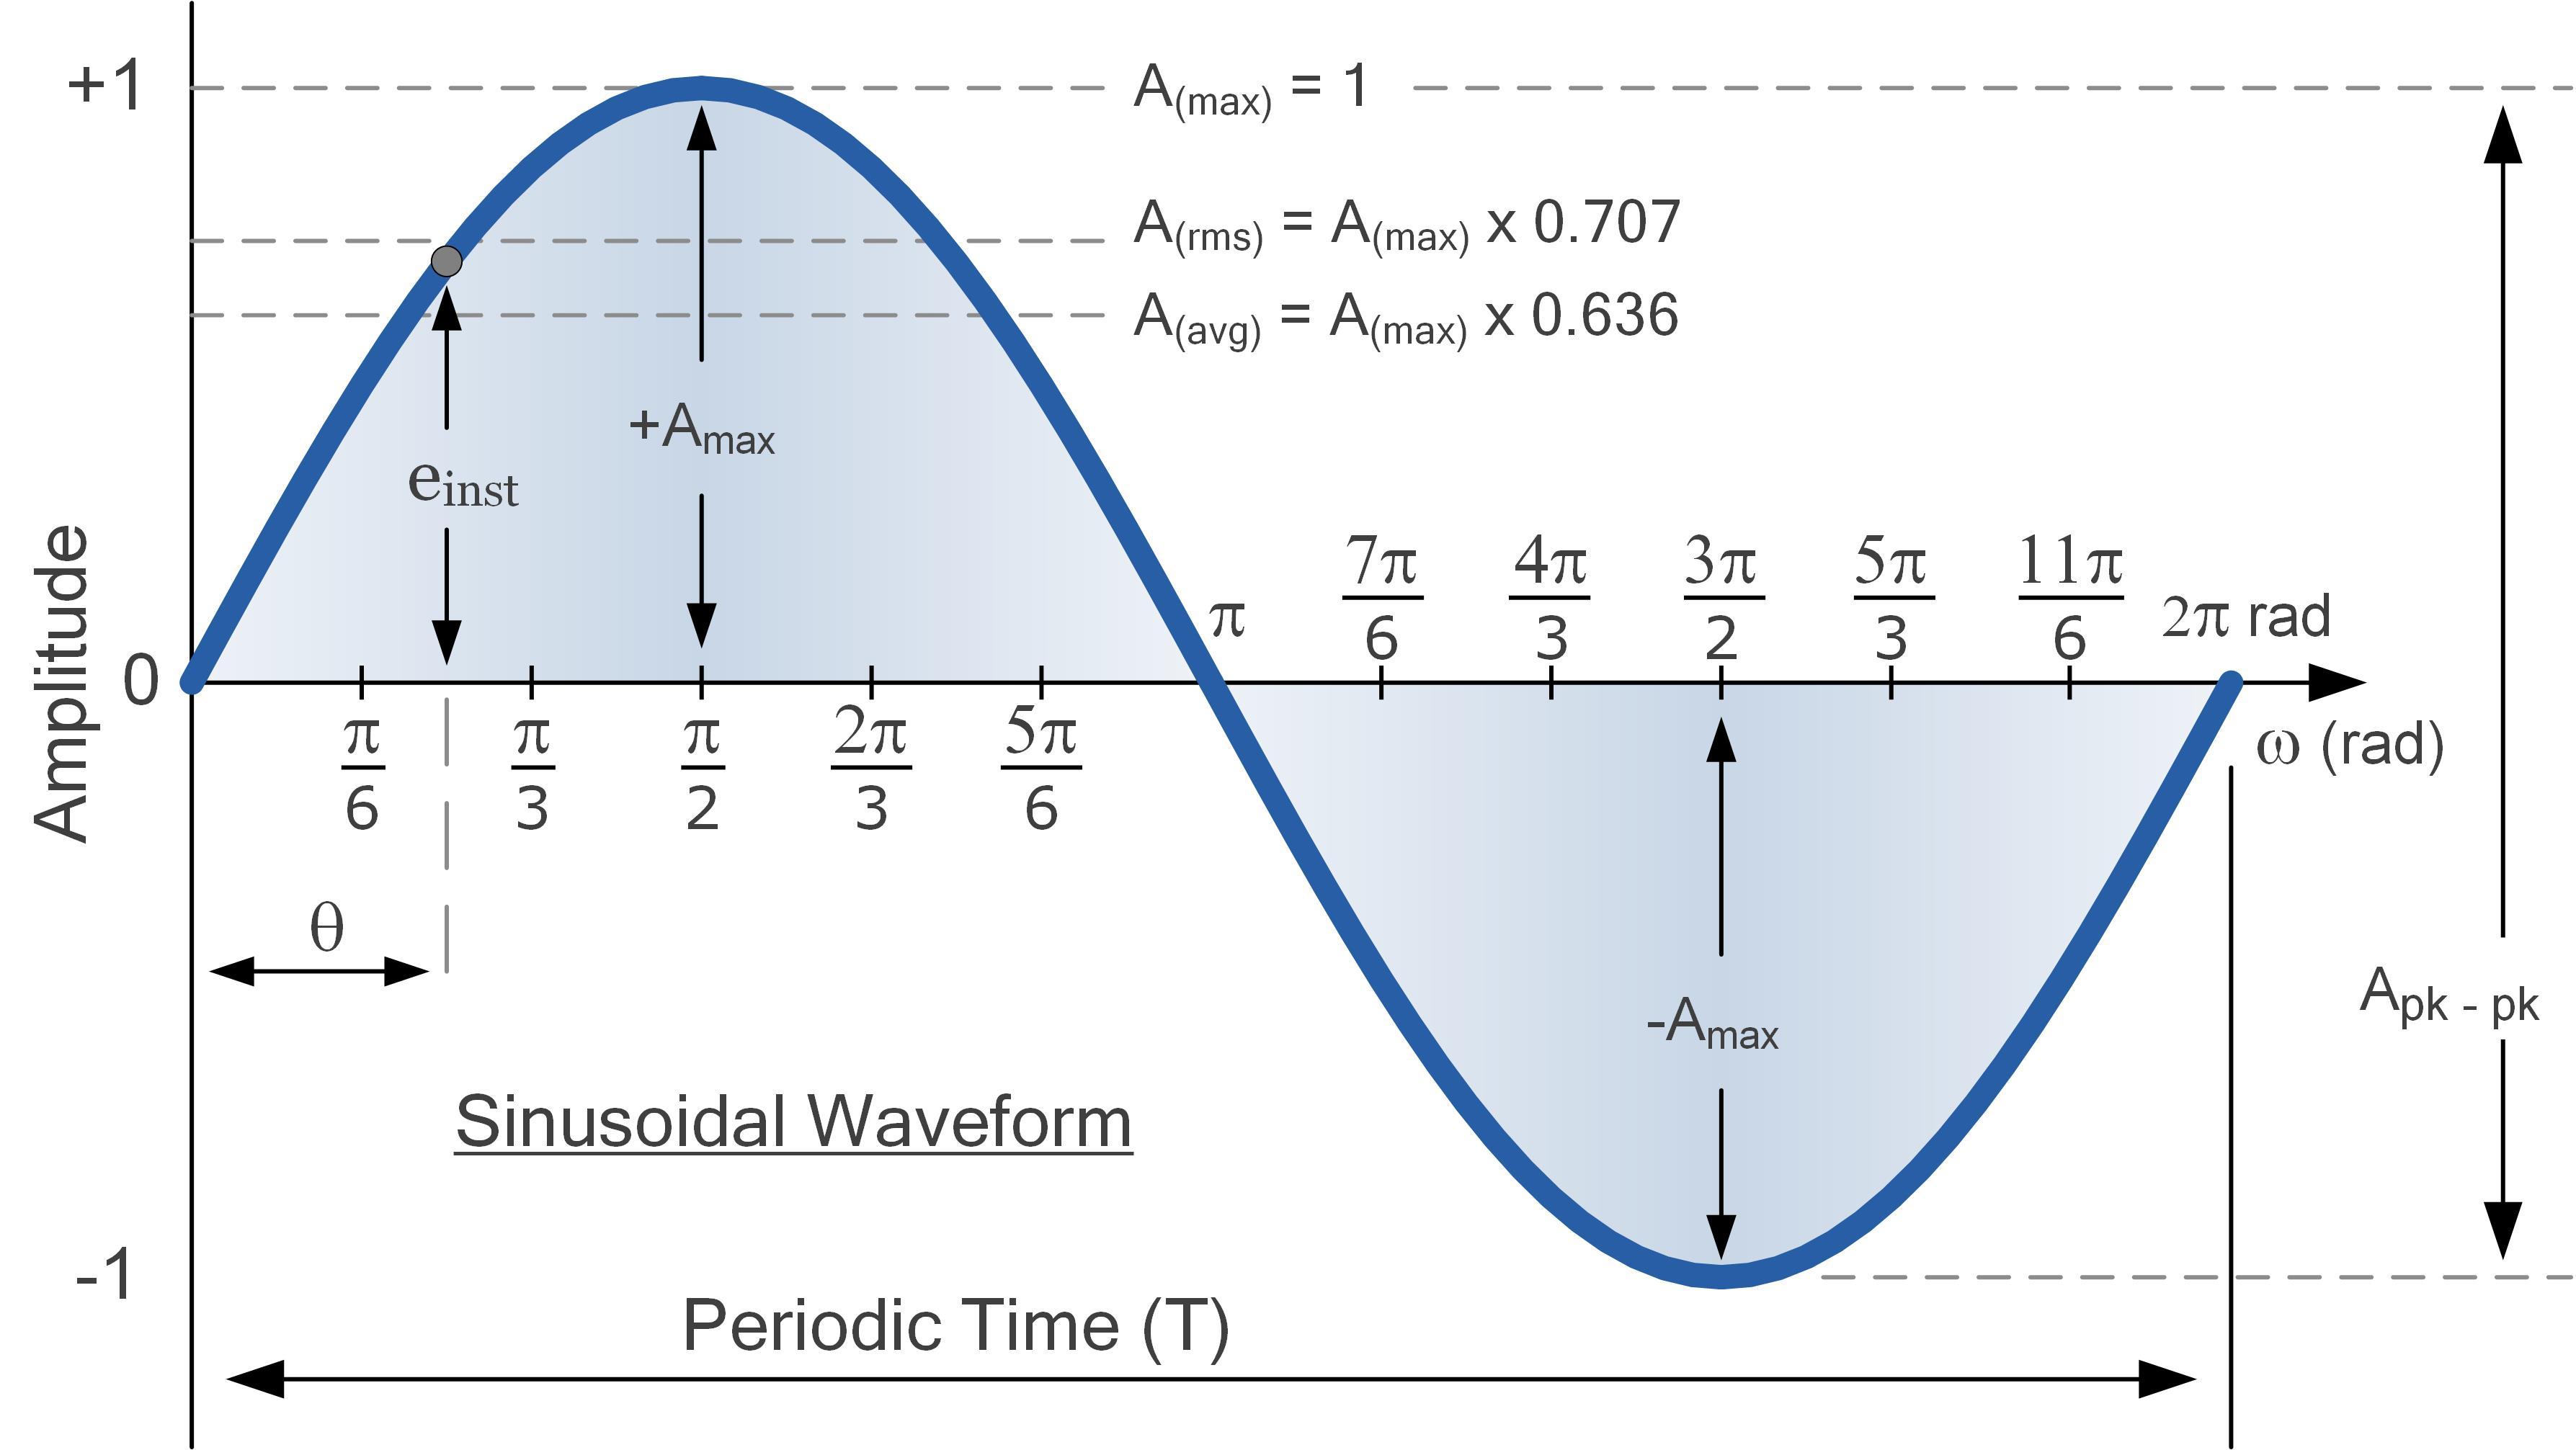
We can make our airflow look a lot nicer by displacing on the x-axis relative to the fragment’s original vertex position. This means that fragments at different heights will have different horizontal displacements, forming “ripples” across the mesh.
Inside your fragment shader:
- create a new uniform float called “WaveFrequency”.
- try giving this a value of ~7.5.
- add the y-vertex coordinates to the curve of wavyX, using this to distort our wave.
- then multiply this with WaveFrequency!
// FRAGMENT
// ...
uniform float WaveFrequency;

void main()
{
  float wavyX = sin(AnimationTime * 2.0 * PI + vTexCoord.y * WaveFrequency) * WaveAmplitude;
	// ...
}
We’re now getting some nice, wavy distortion in our airflow!
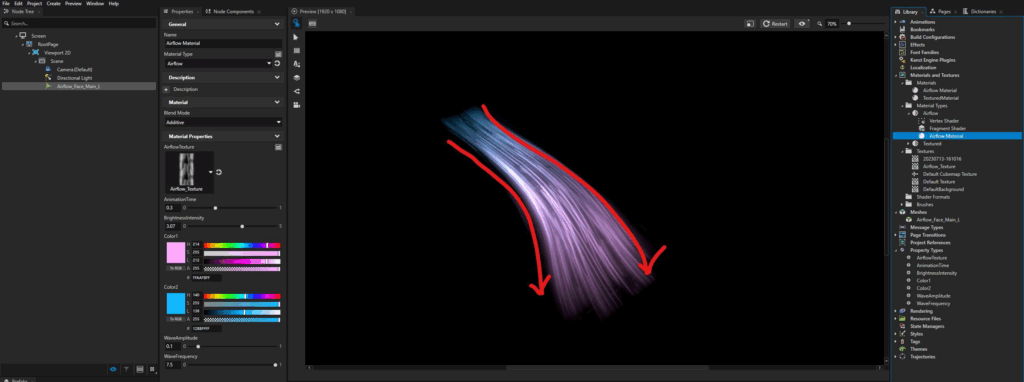
And with that, our airflow effect is complete!
In progressively building this effect, we learnt how to:
- scroll a texture over time and tile it seamlessly.
- create soft edges by calculating opacity based on UV coordinates.
- blend colors along the mesh using a greyscale texture and the
mixfunction. - add a sense of depth and variation by offsetting textures based on their world position.
- implement a flowing, wavy motion using a sine wave, modified by time and vertex position