Hey there, and welcome back to my blog! Do you remember the article where I shared about creating an online quiz game using Unity Engine? Well, this time around, I’ve got something even more exciting to talk about – creating a virtual art gallery!
An Idea!
This idea came to me when I realised that my online portfolio of artwork was lacking something special. It was a basic grid of images, but I wanted to showcase my art in a more engaging way!
As I walked past an art gallery every day on my way to university, I couldn’t help but dream of having my work displayed there. But, since that wasn’t likely to happen, I decided to take matters into my own hands and build my own gallery!
And so, the idea of a virtual art gallery was born. I wanted to create a space where people could immerse themselves in my art and feel like they were walking through a real gallery. And of course, as a virtual gallery, anyone from anywhere in the world could visit!
Outlining Features
Before I could start coding or modelling, I had to come up with a plan of attack. That’s where my essential feature list, or Minimum Viable Product (MVP), came into play. I knew that I needed a 3D environment that visitors could navigate, with space for at least eight pieces of artwork. And of course, the artwork had to be easily viewable and accompanied by some text descriptions.
Creating an MVP helped me focus on the most important aspects of the gallery, without getting bogged down by unnecessary bells and whistles!
Creating the 3D Environment
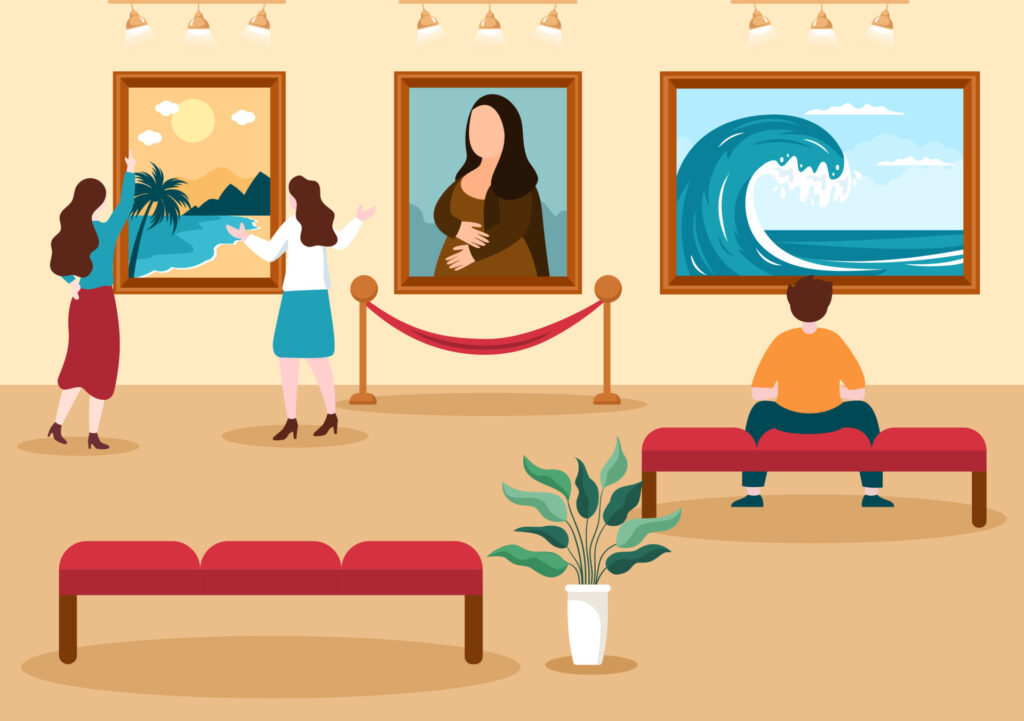
As I designed the art gallery, I reflected on all the galleries I had visited in the past. Have you ever noticed that most galleries have a plain interior design? That’s because the artwork should be the main focus! Luckily for me, that meant I didn’t have to create a fancy structure for my gallery, but I did have to figure out the layout. It was a bit challenging since I had no background in architectural design, but as long as the floorplan was easy to navigate, I knew visitors would be able to find and appreciate the artwork.
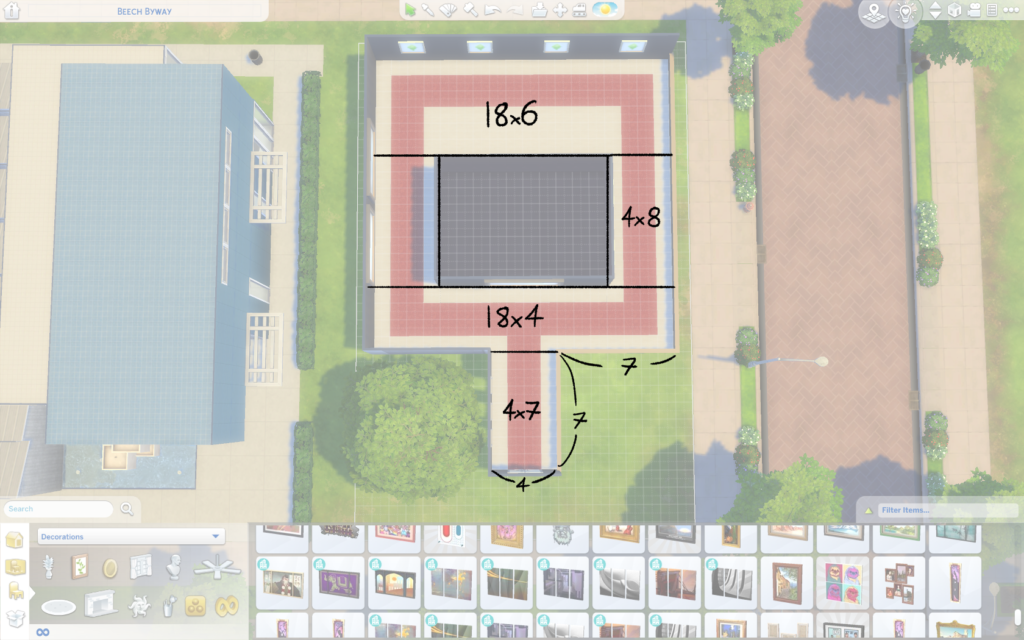
Believe it or not, I used The Sims 4 to create the initial floorplan! For those who haven’t played it before, The Sims is a game where you create virtual people and houses for them to live in. But it turns out that it’s a great tool for planning 3D environments too! My main focus was to create a simple loop that visitors could take clockwise or counterclockwise around the gallery.
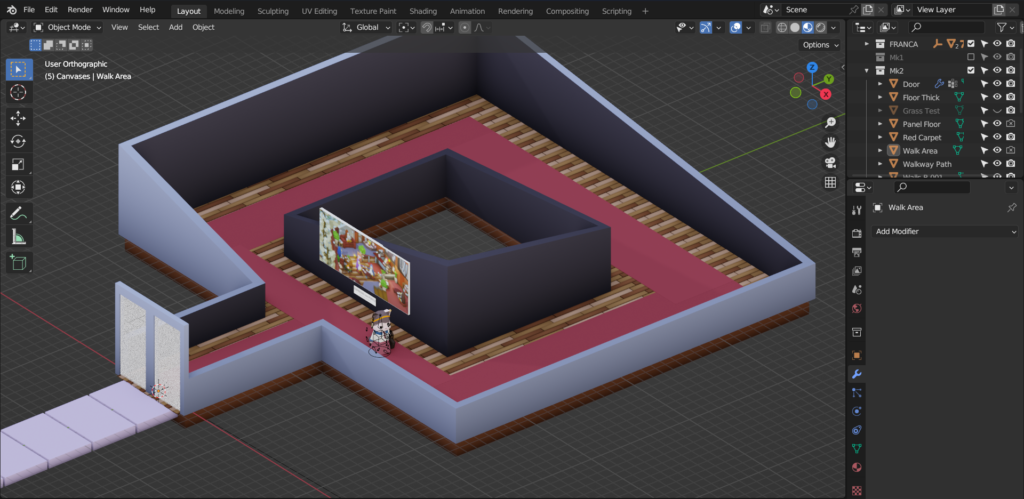
Next, I had to model the gallery in Blender. Fortunately, buildings in Blender are much simpler than creating animated characters, so this step didn’t take me long. I used a low-poly style, which means the 3D models are relatively simple and don’t have many intricate details. They’re perfect for games because they have a unique and fun look to them, and they’re easier for computers to render than high-poly models. I wanted my gallery to be as accessible as possible, so low-poly was the way to go!
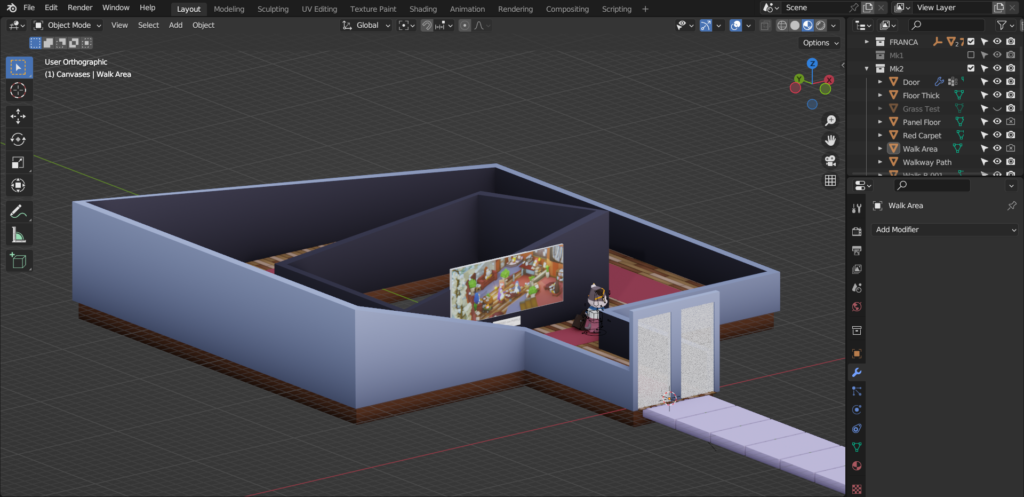
You’ll notice that the walls on the right side are shorter than those on the left. That’s because I wanted visitors to be able to see inside the gallery and click around. I experimented a lot with the wall-to-floor ratio in later iterations of the gallery too.
Another feature I added was an automatic door that opens as you approach the gallery, hopefully with a satisfying click sound as it opens. To add a bit of intrigue, I designed the game to start outside the gallery, so visitors would have to walk up to the door to explore inside.
Indoors & Outdoors
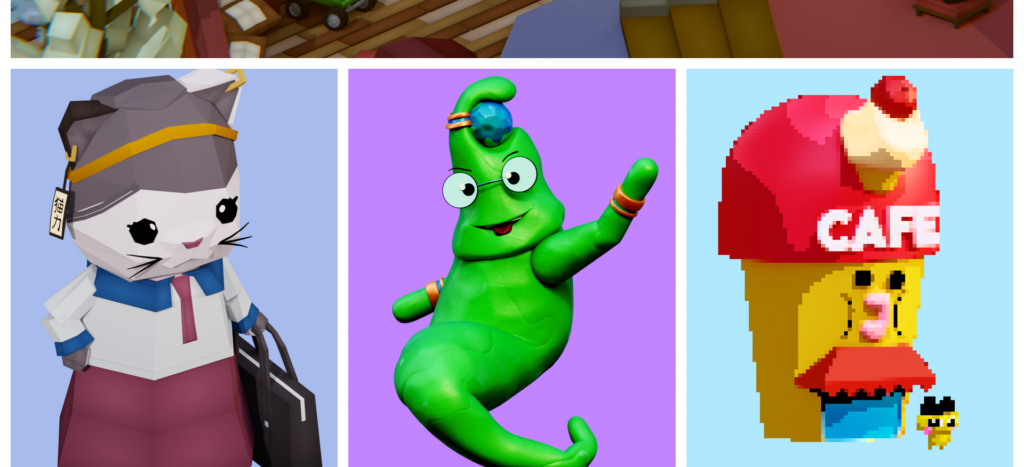
Next up, let’s see what the art looks like on display. I’ve projected my Espresso con Puffle artwork onto a flattened cube, which looks just like a painting on canvas. And to make it feel more like a real art gallery, I’ve added a little plaque with the artwork’s name. Pretty cool, huh?
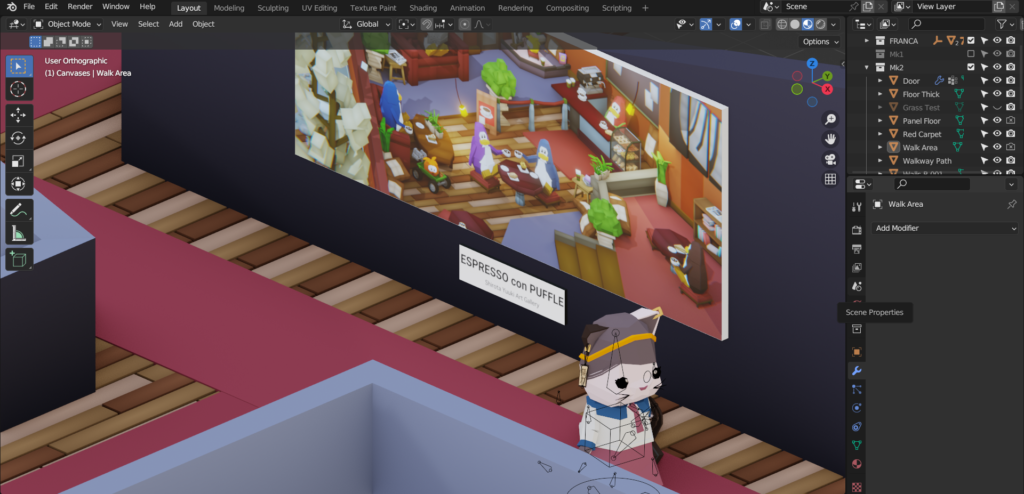
Perhaps my favourite detail is the wooden panel flooring! I modelled a few cubes in a pattern, then used some fancy modifiers to repeat it across the entire floor. The result is an intricate pattern that adds a touch of elegance to the space.
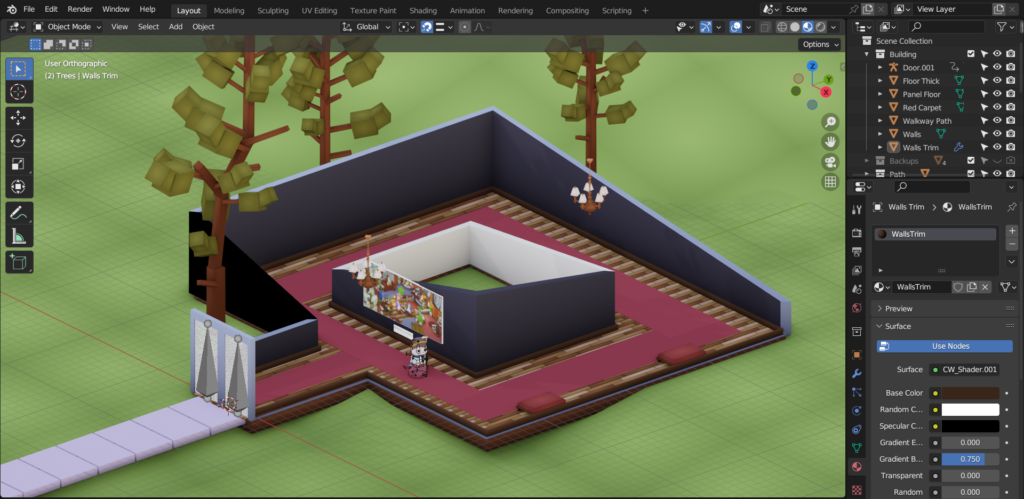
Of course, I couldn’t just leave the art gallery floating in space, so I started working on the environment around it. Initially, it was just a plain grassy field. I then started dropping in some low-poly props – things like trees outside and chandeliers inside!
Afterwards in Unity, we can use programming to make the environment even more interesting. We can make the trees sway in the breeze, or sit down on the cushion seats!
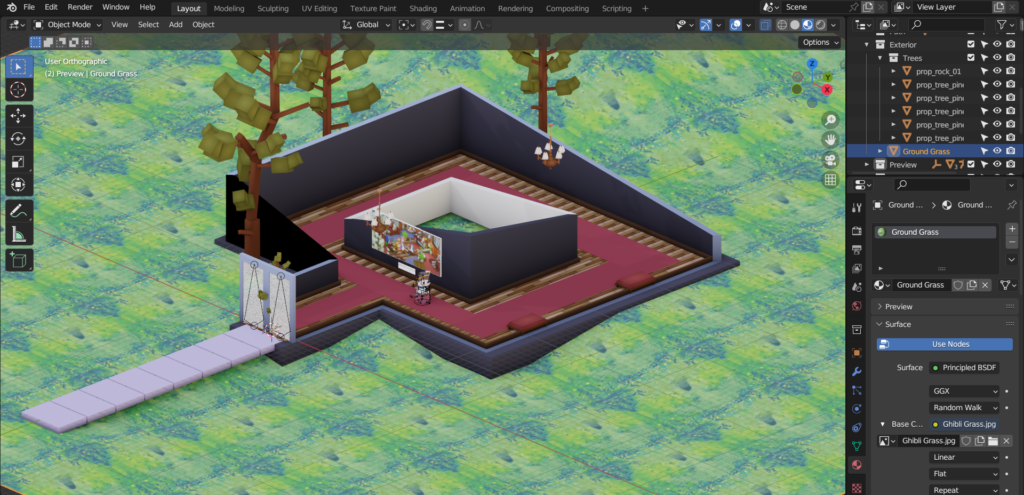
The grass texture looks a little wonky at the moment! That’s because it’s tiling, meaning you can see where the texture repeats. I’m still learning about textures, so I found this one randomly online. But once we zoom in and add more trees and bushes, I think it will start to look much better.
That’s all for now, but stay tuned for the next article in this series where we’ll dive into bringing this gallery to life inside Unity! As always, thanks for reading!