Hello everyone, and welcome back to my blog! In today’s article, we’ll be sculpting and animating a character in Blender. Inspired by my recent playthrough of the RPG game Lisa the Painful, I brought one of its beloved companion characters to life in 3D. One of my favourite modelling exercises is envisioning how 2D characters could exist in the world of 3D! With that said, let’s take a look at this companion character chart:
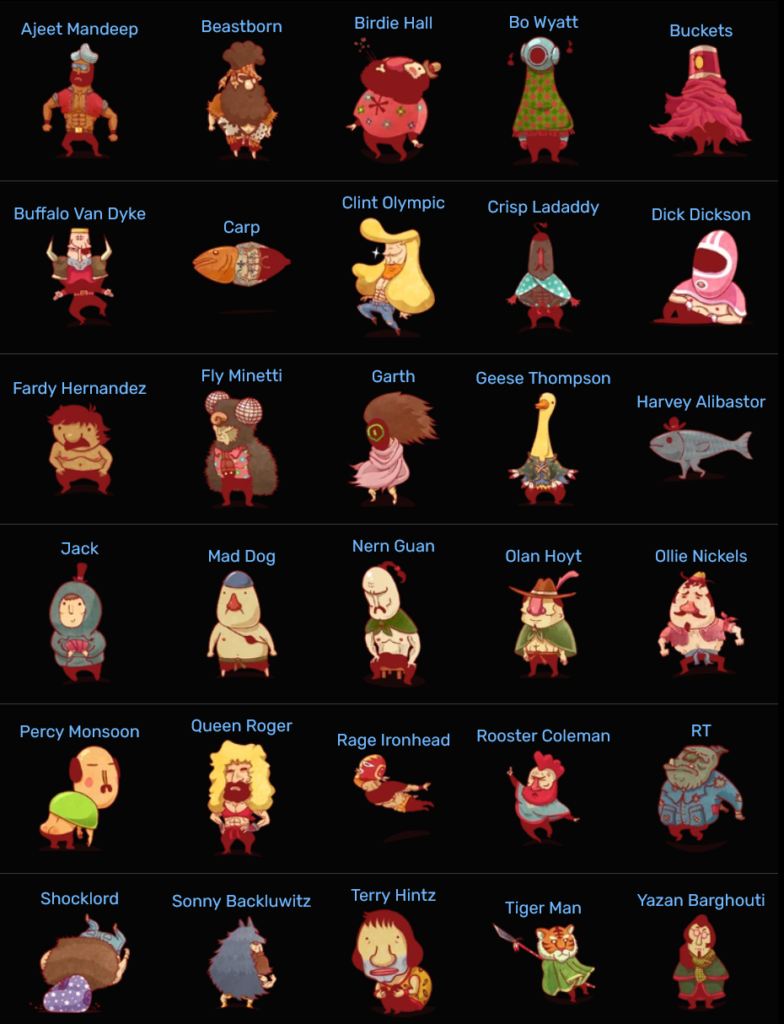
With so many crazy characters, I needed to choose one to commit to. It seemed wise to start with a character on the simpler side. Eventually, I narrowed my selection to Bo Wyatt, Geese Thompson, and Harvey Alibastor. Each one of them has a distinct charm in the game! I must admit, Geese Thompson, the serial killer who speaks in rhymes and wears a Goose mask, has a special place in my heart. Nonetheless, for the sake of simplicity and novelty, I opted to sculpt Harvey. After all, he’s a fish with a fabulous hat and legs – quite the unique combination, don’t you think? Let’s see how the sculpting unfolds!
Getting Started
Before we start the sculpt, let’s enjoy this flavour text describing Harvey, taken from the wiki:
Harvey is a fish that has mutated after the events of the White Flash. He is simply a fish with legs protruding below him with a bowler hat. He has the ability to speak English and ironically he is unable to speak the language of the Fish People. He takes his job as a lawyer very lightly and will take any chance to insult his client and imply his clients relation with the judge’s wife.
Isn’t that fantastic?

First, the all-important reference image! I position a sphere somewhere in the middle – it’ll serve as our sculpting foundation!
I’m using the power of Blender’s remesh function to create new geometry for the tail. This feature reconstructs the existing mesh, infusing it with fresh geometry based on a resolution level of your choosing. This means we can sculpt to our heart’s content without ever worrying about stretched geometry!
At this stage we’re working at a low resolution, allowing us to quickly make sweeping changes to the mesh without any intricate tweaking. It’s all about capturing that overall silhouette of the character!
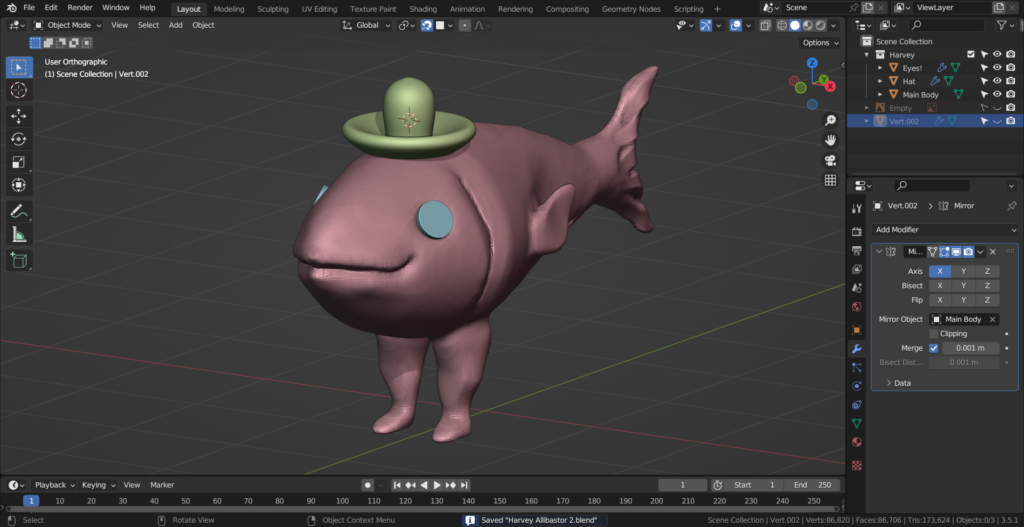
We can fashion a rough leg shape from yet another sphere and then mirror it to give Harvey a pair of perfectly symmetrical legs. And just like that, the fundamental forms are in place!
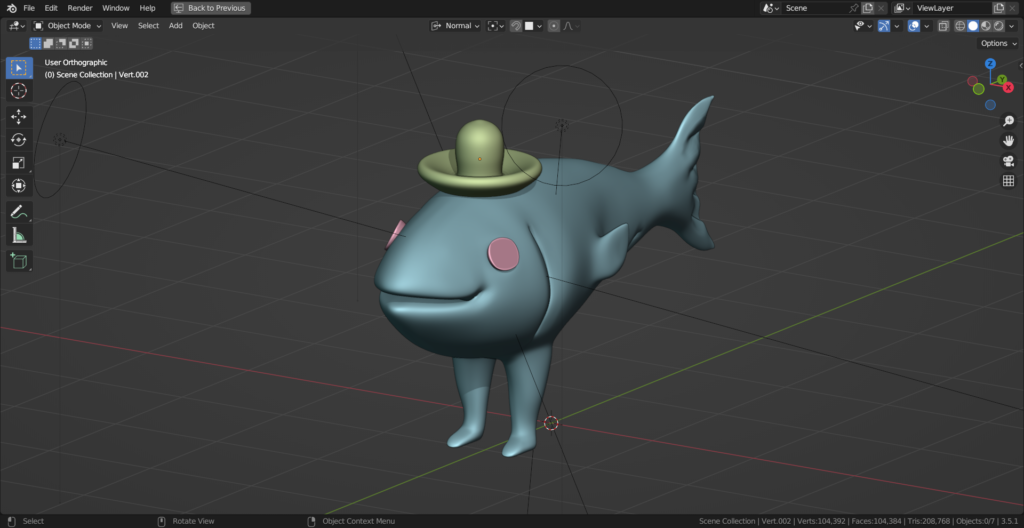
Now, let’s add some details. With a few strokes of the draw sharp brush, I sketch in the mouth and gills. Yes, it might appear blocky, but we can quickly move to higher resolutions later! I’ve also sculpted some little eye sockets, into which I’ll place the eyes. The eyes were made by thickening some circular planes with the solidify modifier!
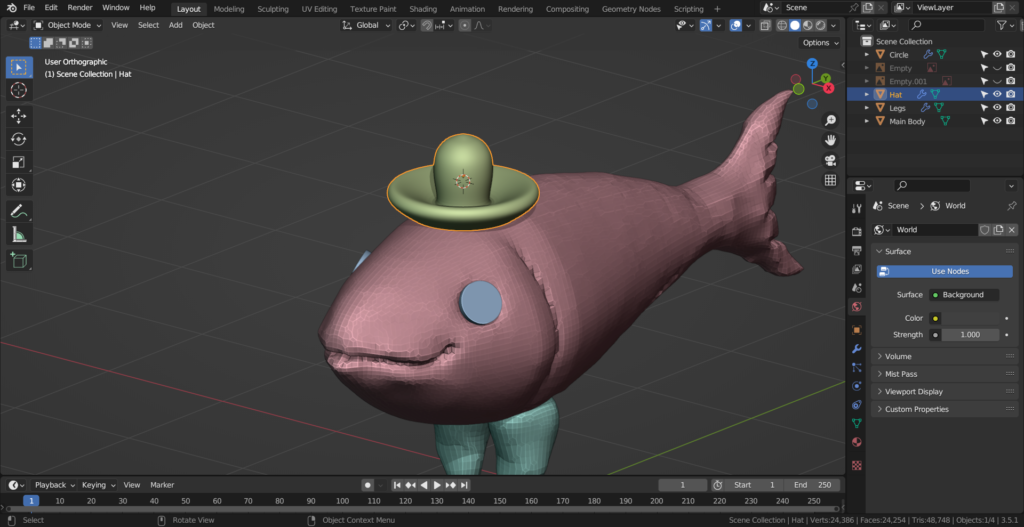
Harvey’s stylish bowler hat was simple to create too. First, I traced half the edges outlining the hat in the reference image. Then by adding a screw modifier, I could quickly make the entire hat in seconds! The screw modifier extrudes edges radially, which helps in creating things like simple hats, chess pieces, and actual screws!
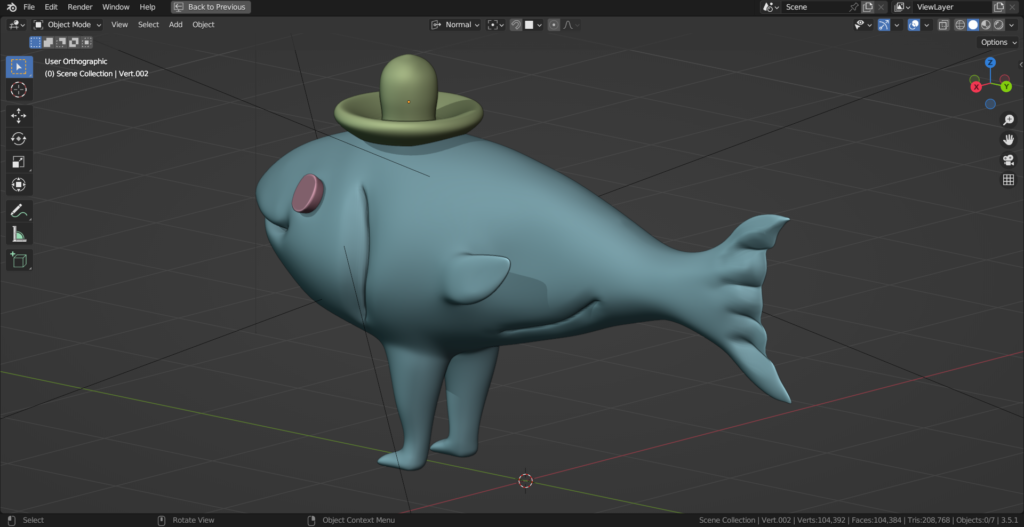
From there, I add subdivision surface and solidify modifiers – the subdivision makes the hat smooth and solidify gives it thickness.
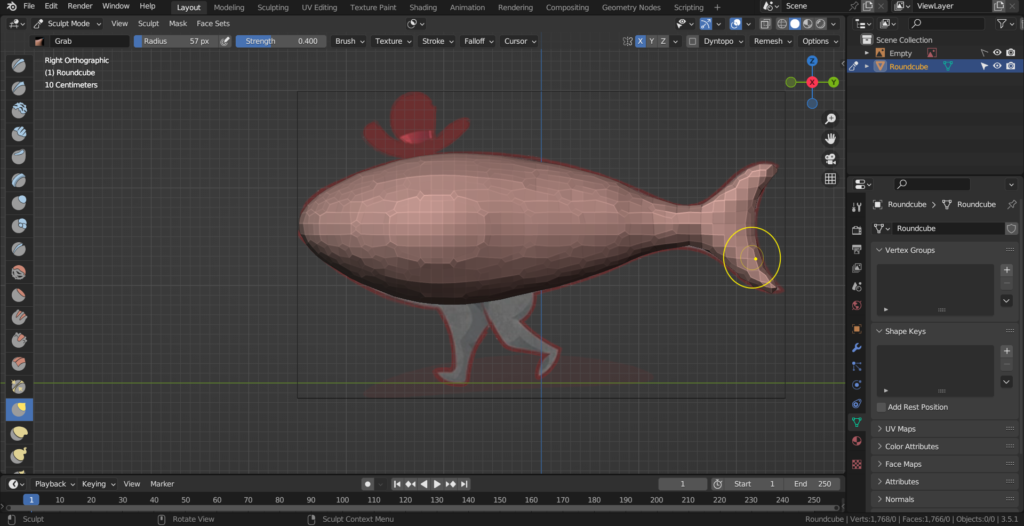
Here I’ve increased the remesh resolution a bit, and I go around the model refining the details. The main brushes I’ve used here were the draw sharp, pinch, and scrape brushes! You can see I’ve also added a little fin to the side of Harvey’s body.
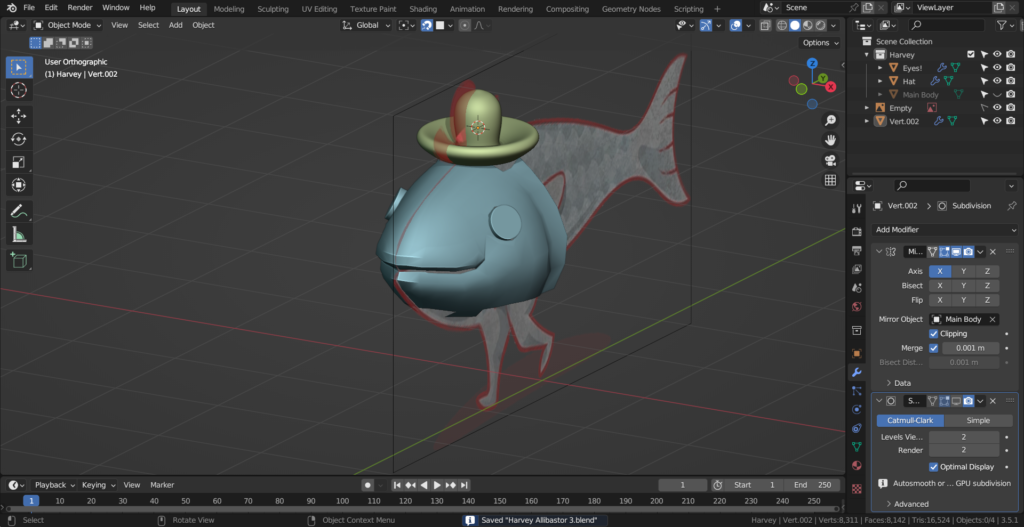
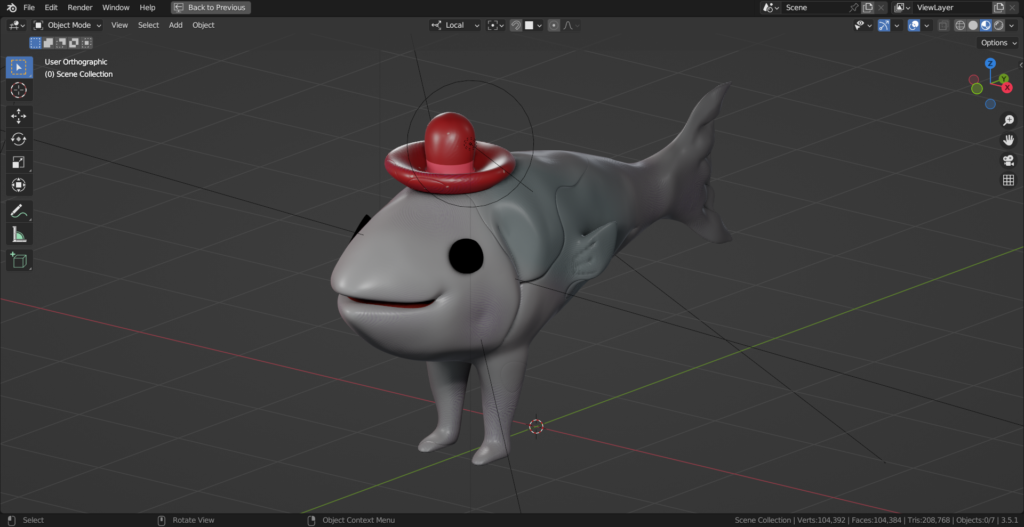
Now it’s retopology time! Since I want to give Harvey a texture and animate him, it’s really important that we recreate our mesh in a less computer-intensive form. The issue with sculpting is that we pile on more and more vertices – while that’s great for creating a quick sculpt, it’s terrible for animation when we work with millions upon millions of polygons!
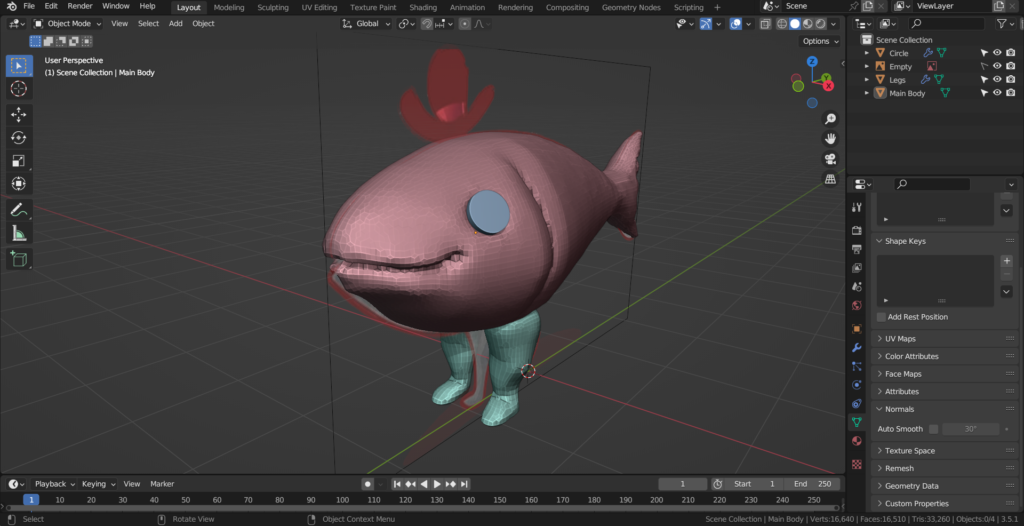
And here’s the retopology done. You can see Harvey is looking a bit blocky, but that’s okay – we can get our old details back via a multiresolution modifier. The multiresolution modifier lets us put detail back into our model while maintaining the logical edge flow we’ve established through retopology!
You can’t really see it here, but I’ve also gone ahead and given Harvey a “mouth bag”. That’s kind of what it sounds like – a bag that goes back from the mouth inside the body! That allows Harvey to open his mouth should we want him to in the future.
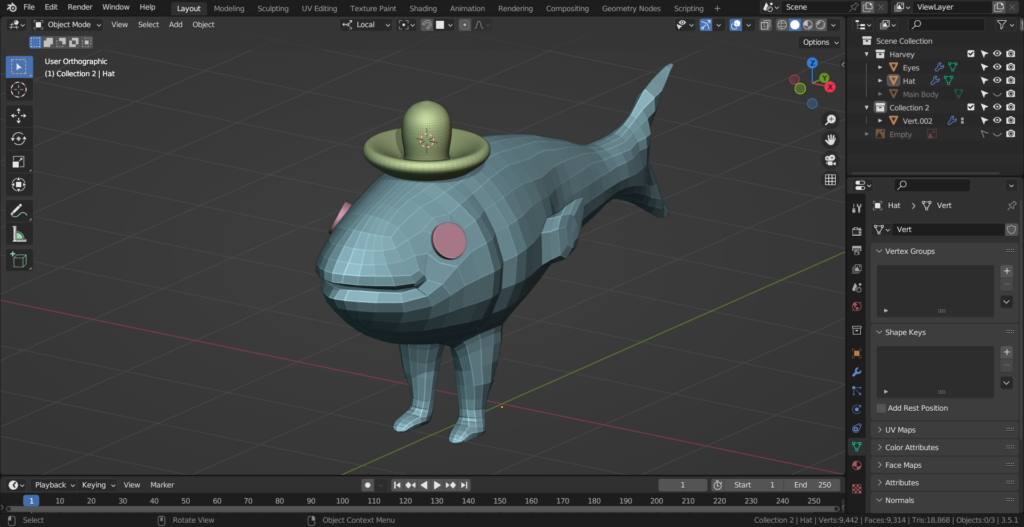
You can see that with the multiresolution modifier, we can get our old details back and the whole model looks a lot smoother!
At this point, I decided that the model looked good enough, so it’s time to move on to texturing!
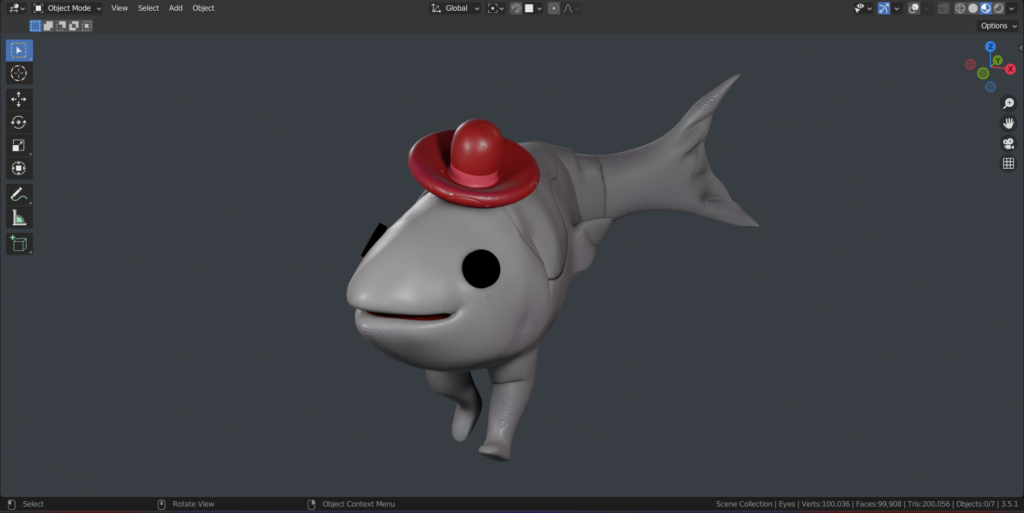
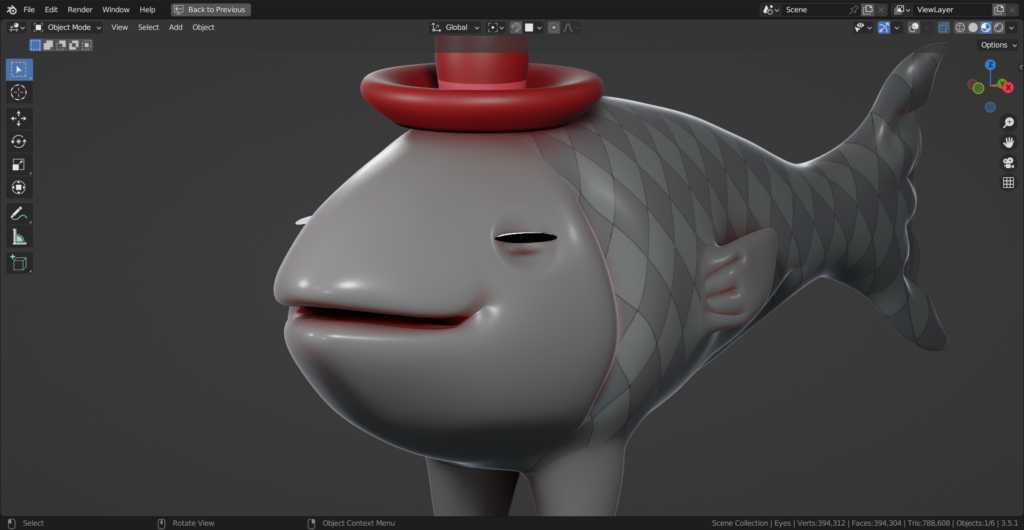
The first material I tried using was the Clay-Doh material – this makes Harvey look like he’s made of clay!
Using the pose brush, I could experiment with a pose before I’d set up a proper animation rig. It’s nice to get a sneak peek of what the final result might look like!
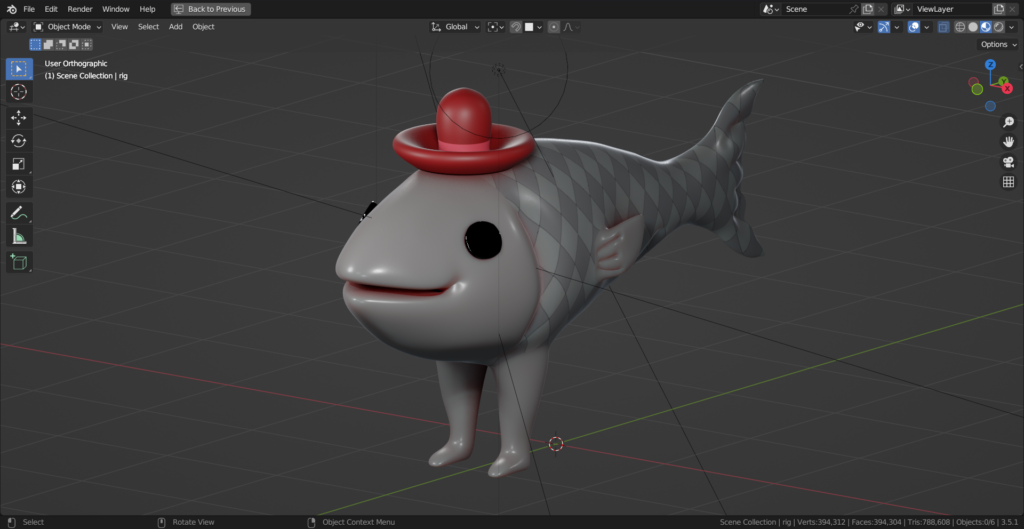
Here’s an alternate material I used in the final render – an altered version of a skin material I used in a previous project. It makes Harvey look slippery and shiny, which is good for a fish man. I also added a diamond texture to his body, aligning it with the reference image and adding visual interest.
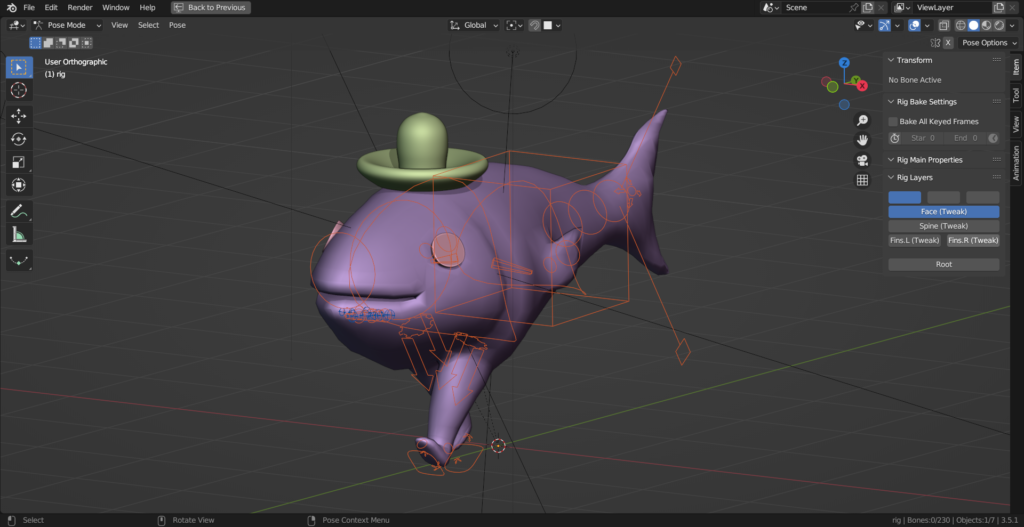
Now let’s dive into animation! Our first step is to set up a rig for Harvey. Think of the rig as a framework, like a skeleton, that we attach to our character. It allows us to bring Harvey to life through various movements in our animations. The rig consists of bones, which we can manipulate just like the bones in a real creature. In this case, I’ve created a spine for Harvey with multiple vertebrae, allowing him to sway his head and tail as he walks.
We can make Harvey blink by using shape keys! Imagine shape keys as simple modifications we can apply to the mesh, enabling us to easily switch between different configurations. In this instance, I’ve altered Harvey’s eyes to be flat and saved that as a shape key. We can effortlessly create a blinking animation by activating and deactivating this shape key! It’s a remarkably straightforward and efficient technique that adds a touch of realism and liveliness to our character.
Now it’s animation time – I created a simple 24-frame walk cycle using this video as a reference! Essentially we only need to outline one step across 12 frames because we can duplicate and mirror those frames to get a seamlessly looping walk cycle.
The animation workflow is actually a bit similar to sculpting! We start with the large features first, in this case the movement of the leg overall, before we go ahead and add details to make the animation look better. Those details include slapping the toes on the ground or the body rising as one leg pushes off the ground.
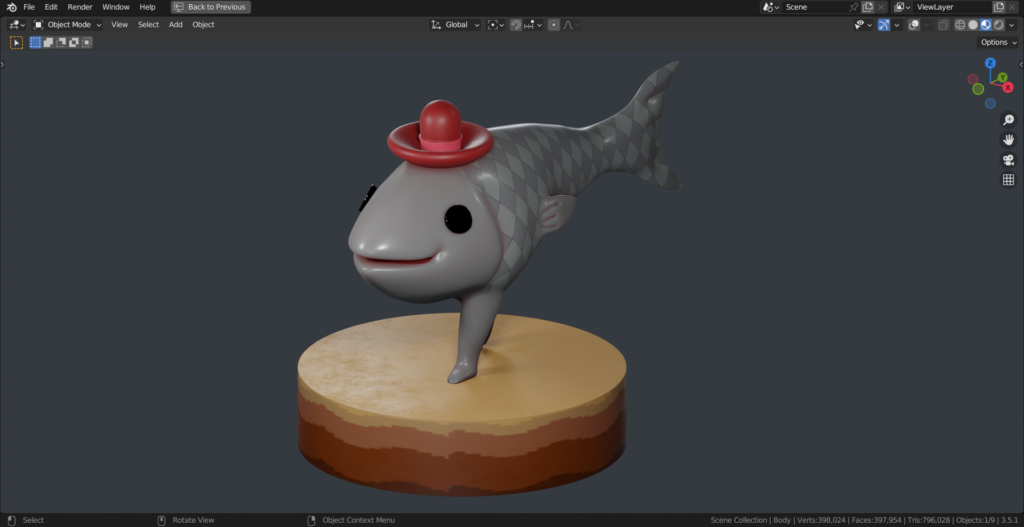
You can see I also went ahead and modelled a bit of ground for Harvey to walk on – the dirt-like texture was created with a simple noise texture plugged into the roughness value of a principled BSDF material. I also gave a noise texture and an increased sheen value to the materials on the hat, such that it looks a bit more like fabric.
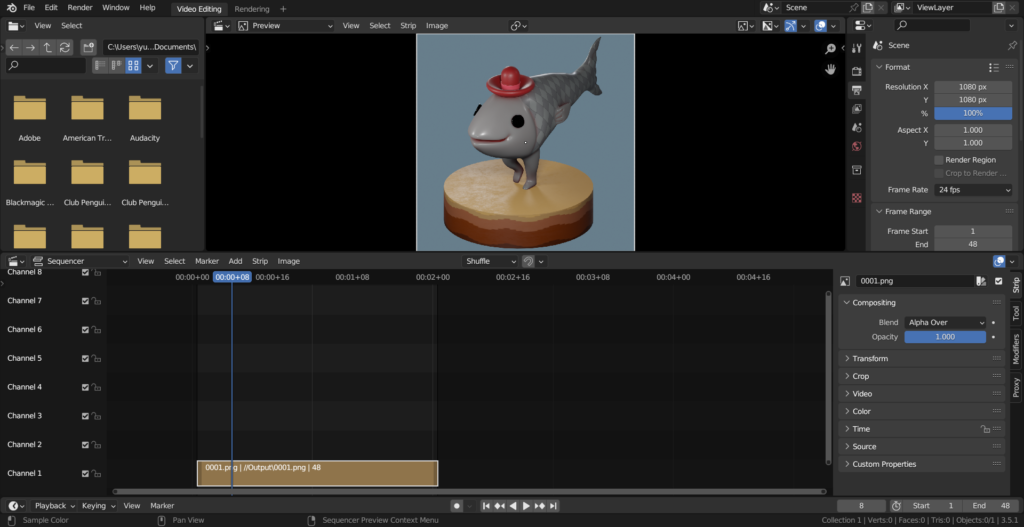
With my animation frames ready, I export all 24 frames as images I’ll turn into a video. With 24 frames playing at 24 frames per second, we have a looping one-second video!
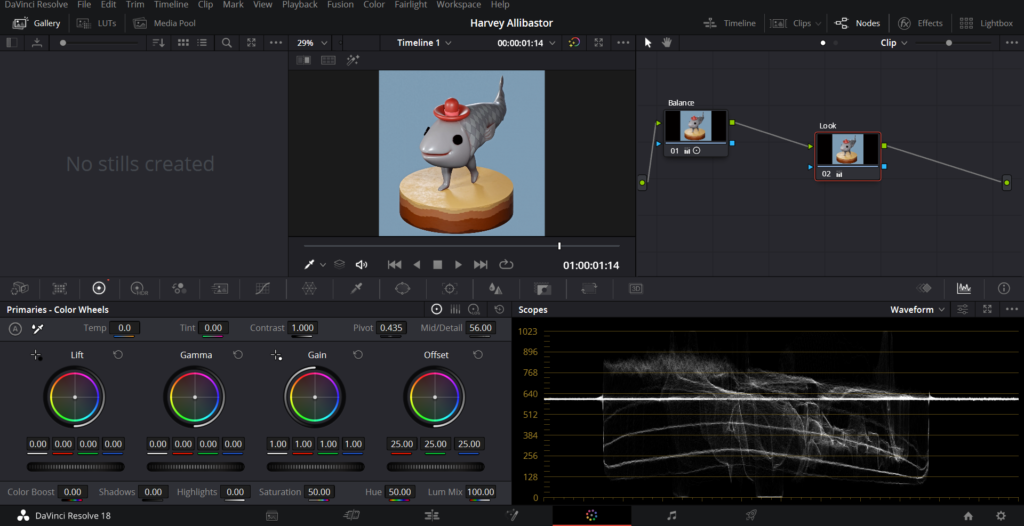
And here I am tweaking up the colours in DaVinci Resolve! Using what I’ve learnt in my previous colour-mixing endeavours, we can breathe a bit more life into the render!
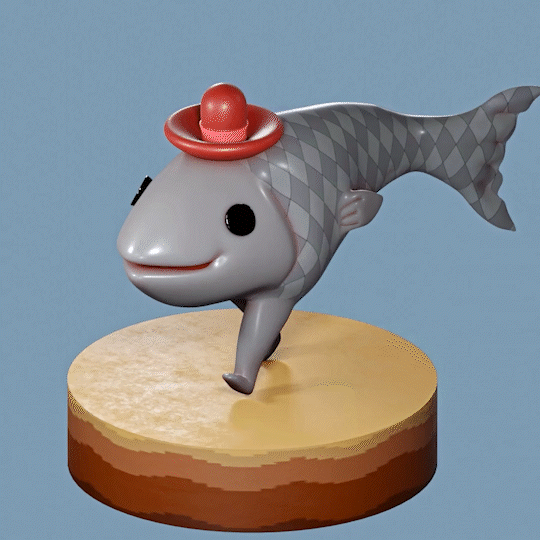
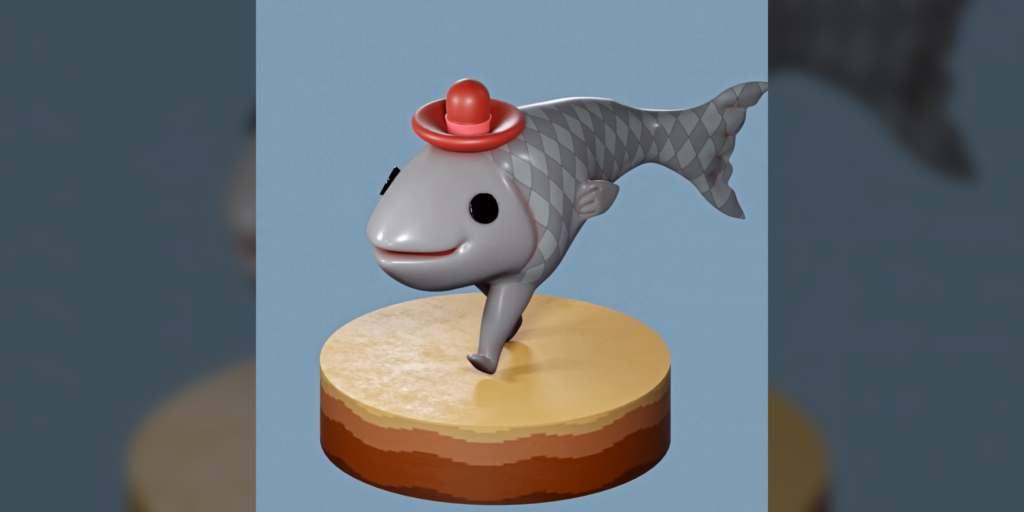
And here’s the final animation! Overall, I’m pleased with how Harvey turned out, and I’m especially glad that I took the extra step of animating him. While sculpting alone is enjoyable, there’s something really cool about seeing your creation come to life and start moving!
I appreciate you taking the time to read today’s article, and I hope you’ve learned something or found some inspiration. Stay tuned for more character creations in the near future – thank you, and take care!